


Recreating discontinued tiles was meticulous work, but it was worth it to save our customer time and money.
In addition to providing quality installations, we are sometimes called upon to do a repair. In a recent project, some old shoddy exterior renovations broke several tiles in a prominent place on an inside bathroom. Unfortunately, neither the of the two types of the damaged tiles were available, having been discontinued over ten years ago.
The homeowner wasn't in a position to redo the entire bathroom, so we were asked to do a patch so it was at least functional. The broken tiles were located right below the window on one of the most visible walls of the bath including the wainscot that ran around the entire room.
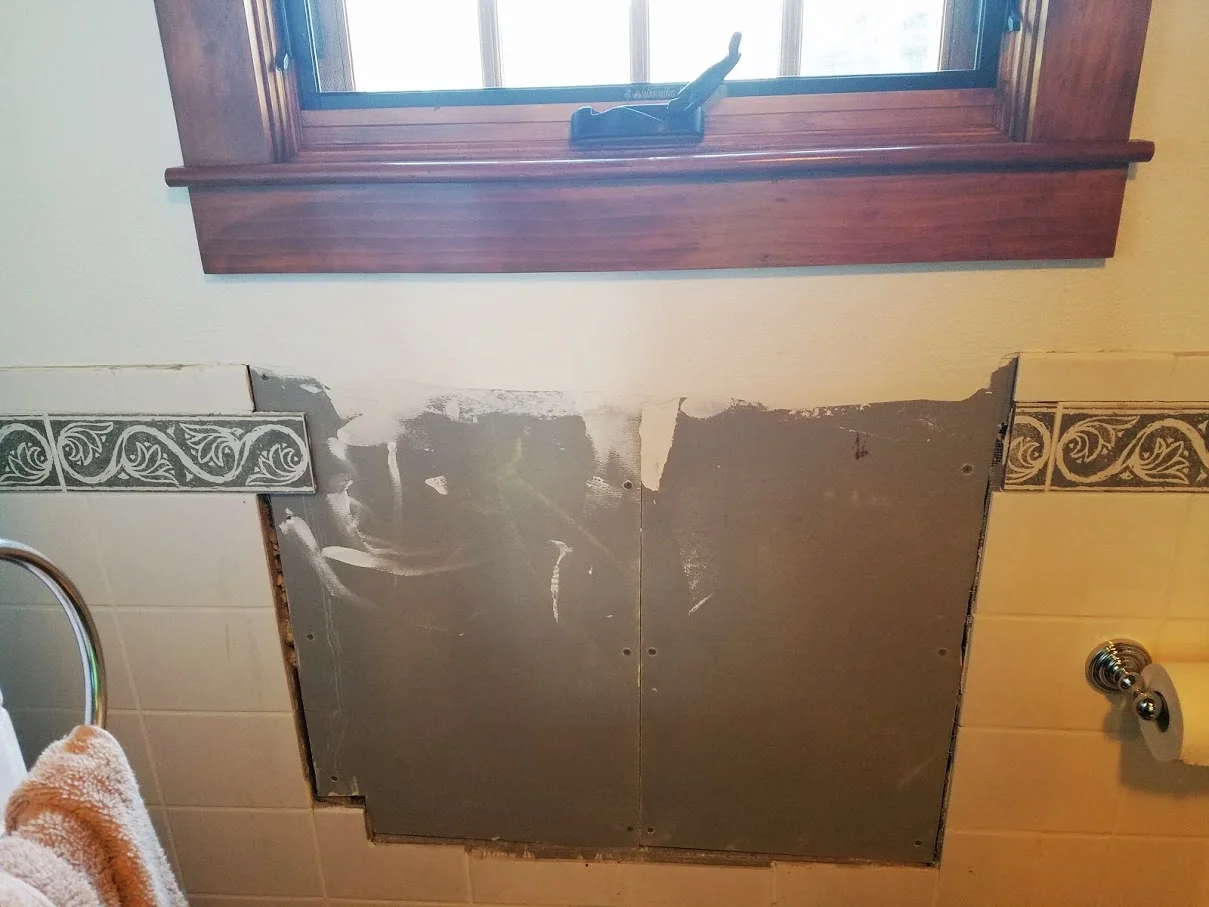
A patch would have been obvious and aesthetically unappealing, to say the least. Since the home was going to be placed on the market, the bathroom didn't need a glaring patch job to detract from the home's value.
The discontinued white base tiles could be cut down from larger white tiles, so that wasn't going to be difficult, but the Marazzi deco tile trim was another situation entirely.
Tom Weaver, of Weaver Custom Contracting, wondered if we might try to remove the decorative tiles from a less prominent part of the bathroom to transplant into the repair area. I was concerned that the tiles would be damaged in the attempt.
Then I suggested that we try and recreate the discontinued tiles. Tom and the homeowner looked at me in surprise and asked, "You can do that?"
Honestly, I wasn't sure we could duplicate the intricate pattern of the deco tiles, but it was worth a try in order to save this customer a significant amount of money of redoing the entire bath. But my wife Mary and I both have art backgrounds and, together, I thought we just might figure out a solution.
The Process of Recreating Lost Tiles
Recreating the tiles involved finding the best base tile, the right paint that would last, and figuring out how to get the same texture and pattern onto the new tiles.
We bought a few tiles to try, several paints, protective glazes, and tracing paper, and transfer paper.
There was lots of texture in the original tile, and the pattern was difficult to reproduce. Getting the right shade of the sage-greenish gray was time consuming, and we had to let each sample dry to see if it would match.
Then the pattern had to be traced and transferred to the tiles that I cut down to match. Several attempts at hand painting the tiles didn't produce all of the textured nuances of the pattern, so Mary went in a new direction.
To create a consistent look between all of the tiles, she decided to get the base color texture first. This was done with a thick coat of ceramic paint. Paper towels were pushed into the wet paint to pull off some of the color. It took several attempts to get all four replacement tiles right, but the results were very close to the original.

Thick ceramic paint and paper towels helped make the textured base color of the replacement tiles.
Instead of painting white over the green to get the scroll design, Mary etched off the green base paint with a knife to reveal the white underneath.

Hours of etching were employed to recreate the intricate scrolling pattern.

Can you spot the original?
After the tiles were painted and etched to Mary's exacting standards (I won't tell you how many times she scrubbed the tiles clean to start over), I sealed the tiles with a durable finish.
Finishing the Repair
It was very satisfying to see Mary's hard work be integrated into the repair. As you can see, the results were more than satisfactory!

Making progress on the custom tile repair.

Adding the custom-cut top trim.
Success!
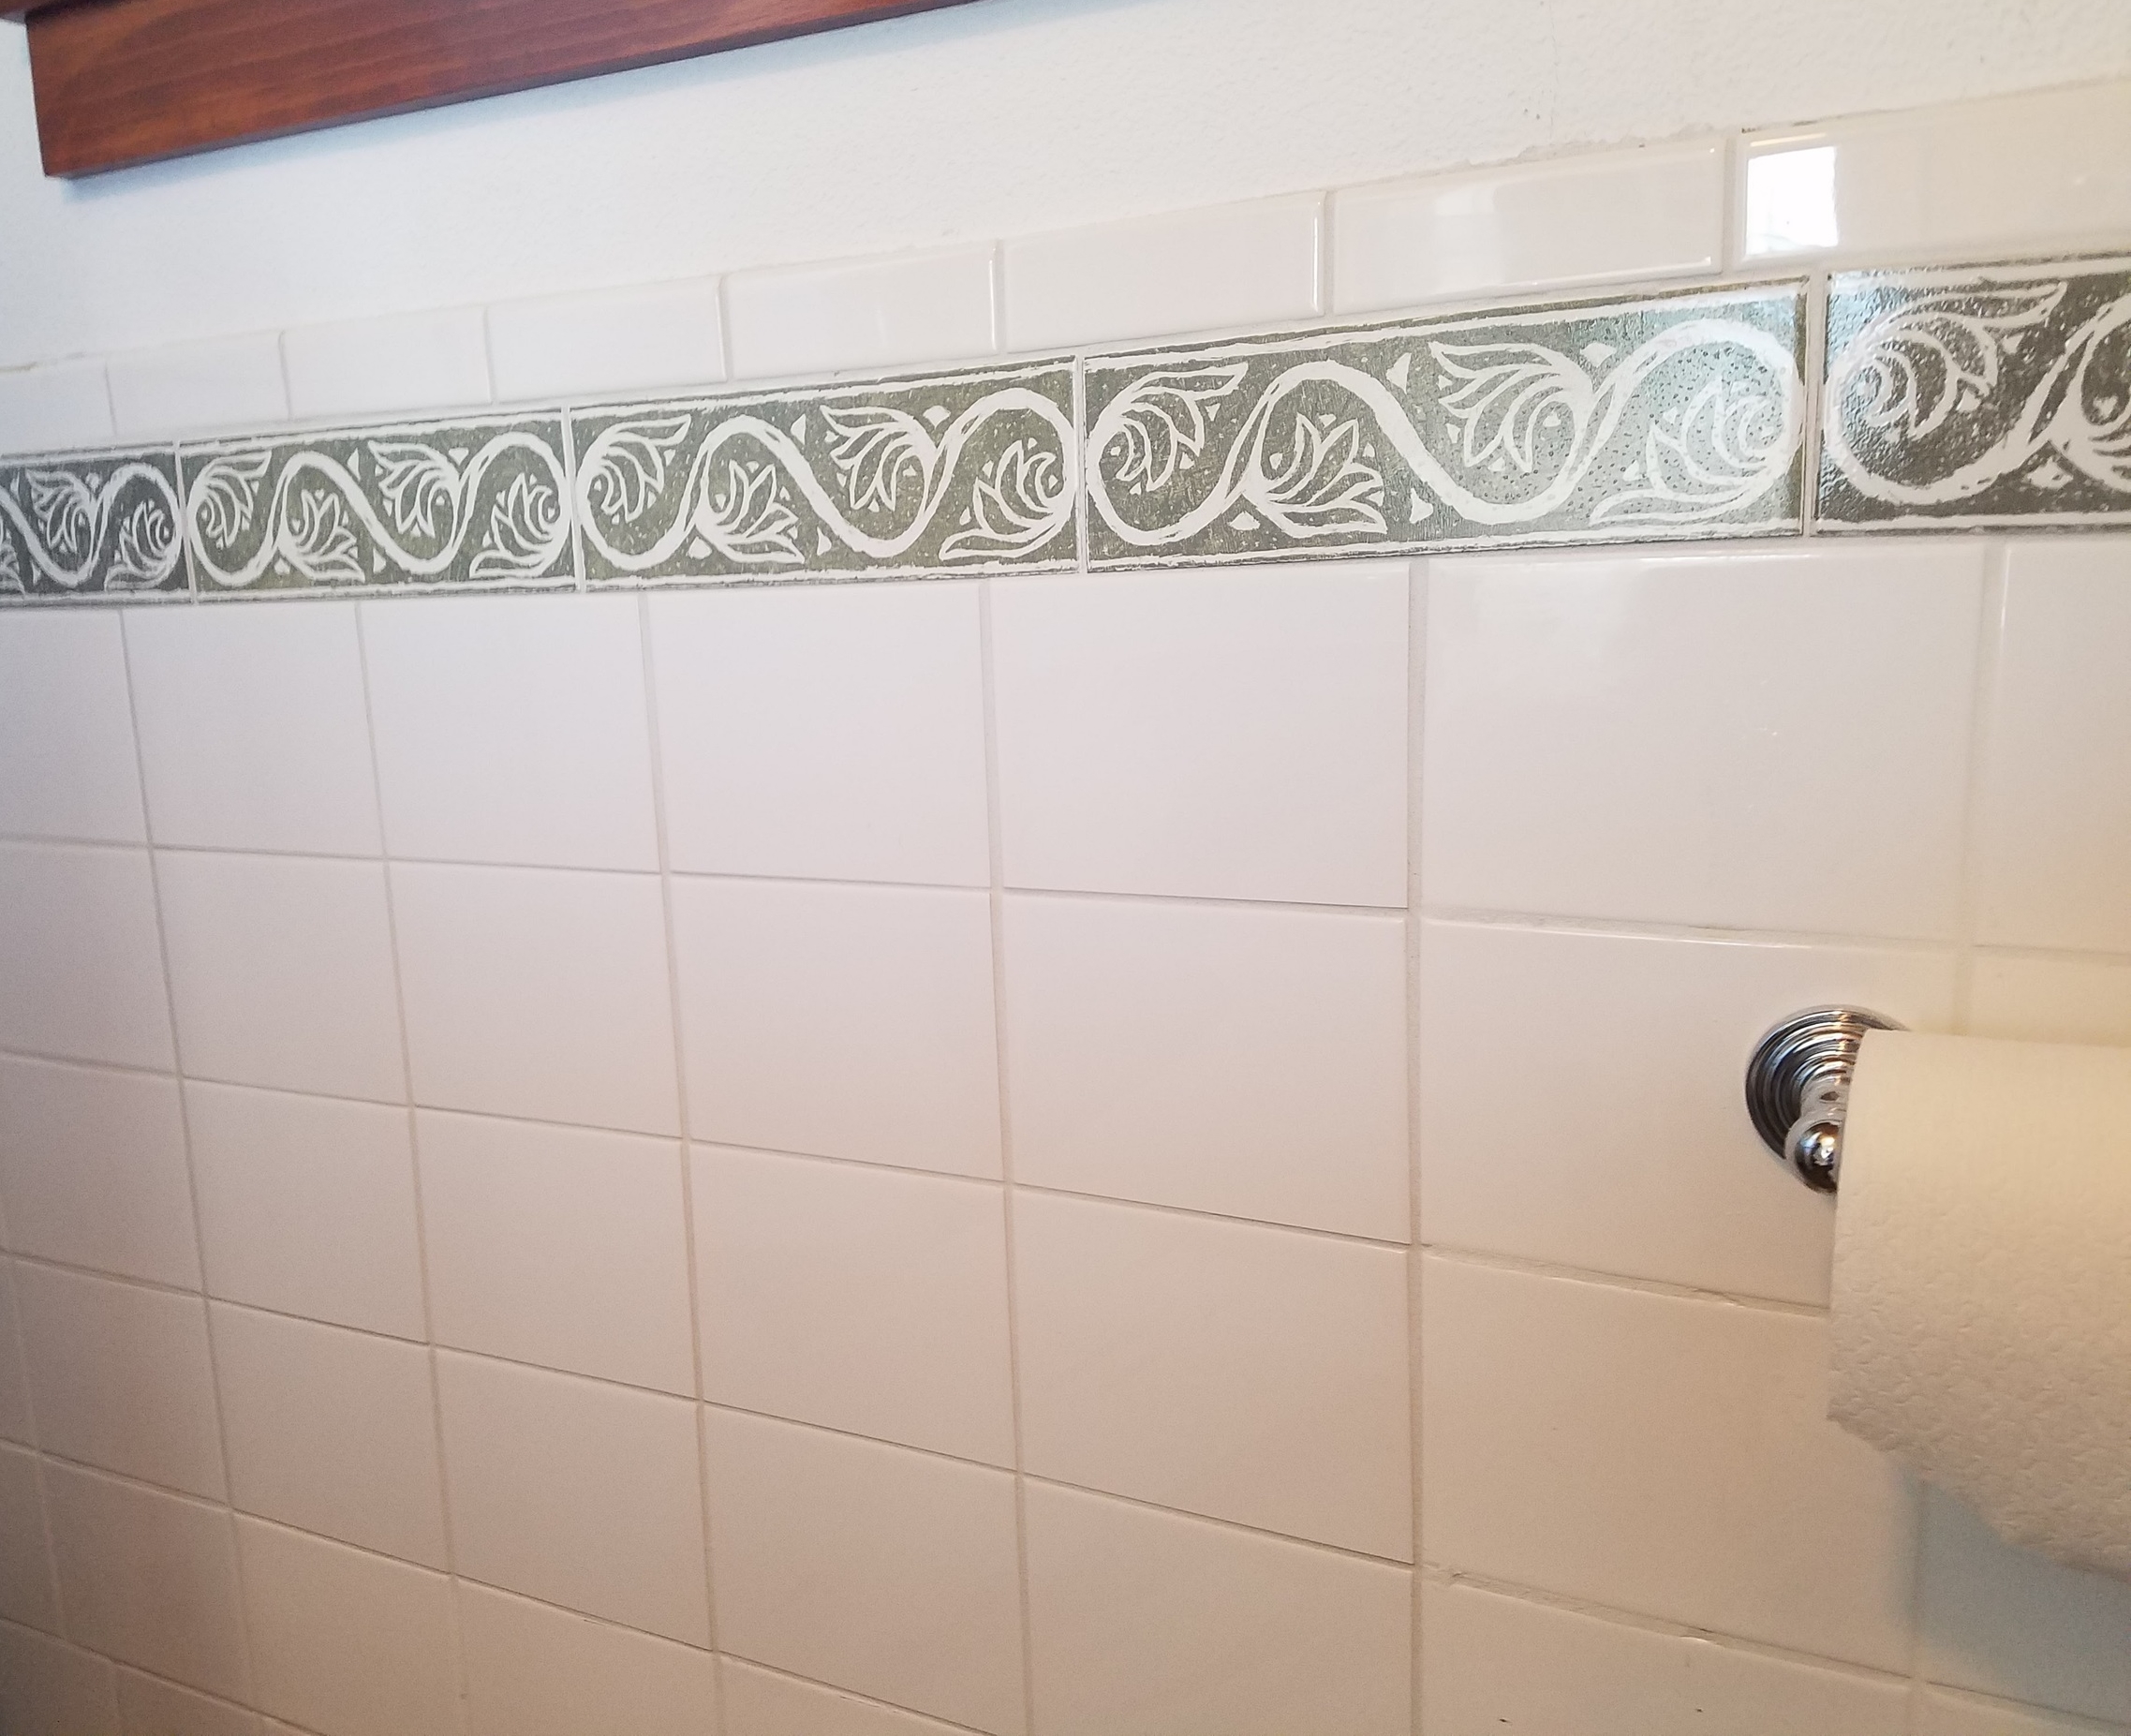
Grouted and finished!
Here at Elite Tile, we're committed to finding solutions for seemingly impossible problems. We're pleased we could help our customer with this unique task and save her thousands of dollars.
Give us a call and we'd be pleased to help you find creative and cost-effective solutions to your tile repair challenges.